Home urq20v.com
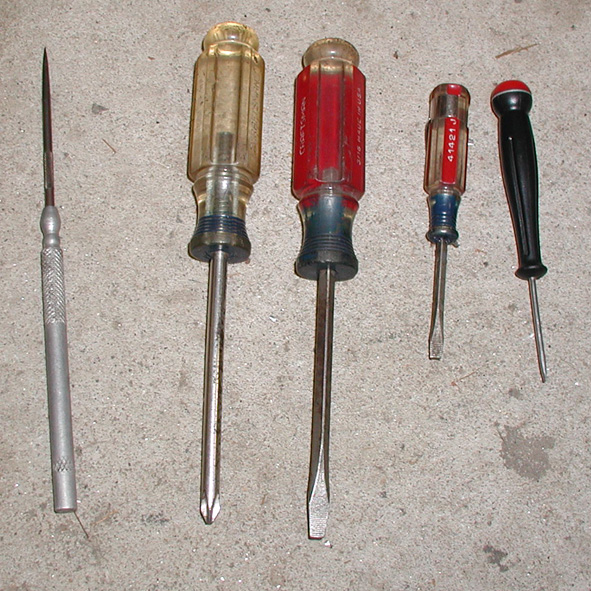
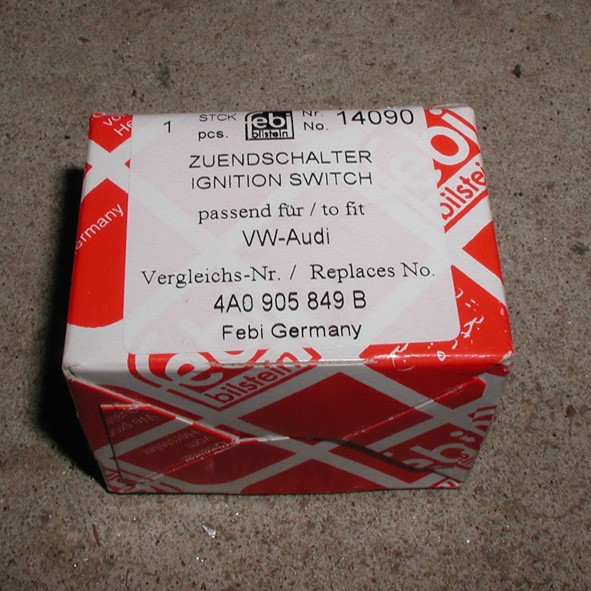
Tools I needed to replace the switch. New Switch
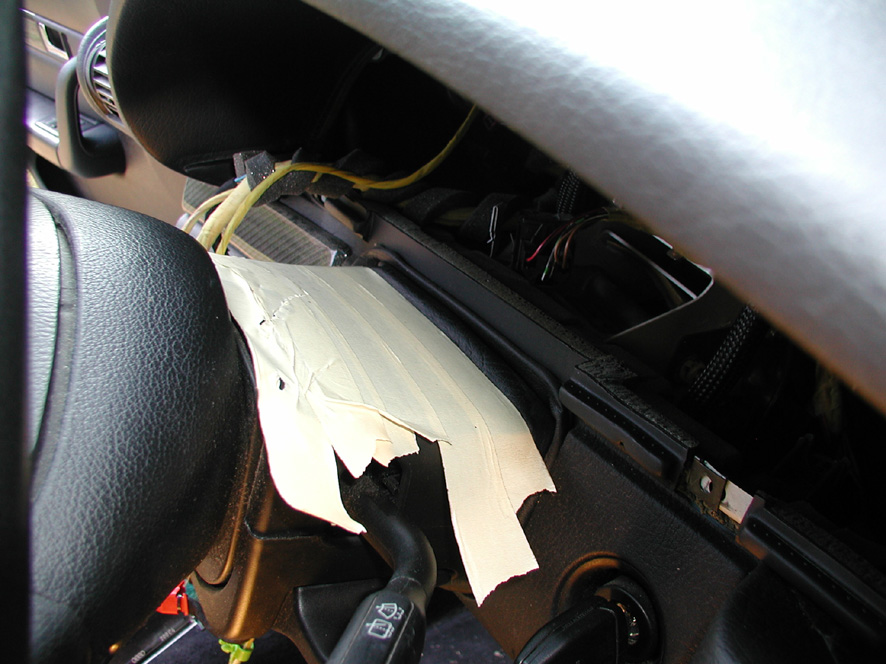
This photo was taken later in the process, but I wanted to show that you should really cover the top of the steering column with masking tape. Otherwise you will scratch the plastic.
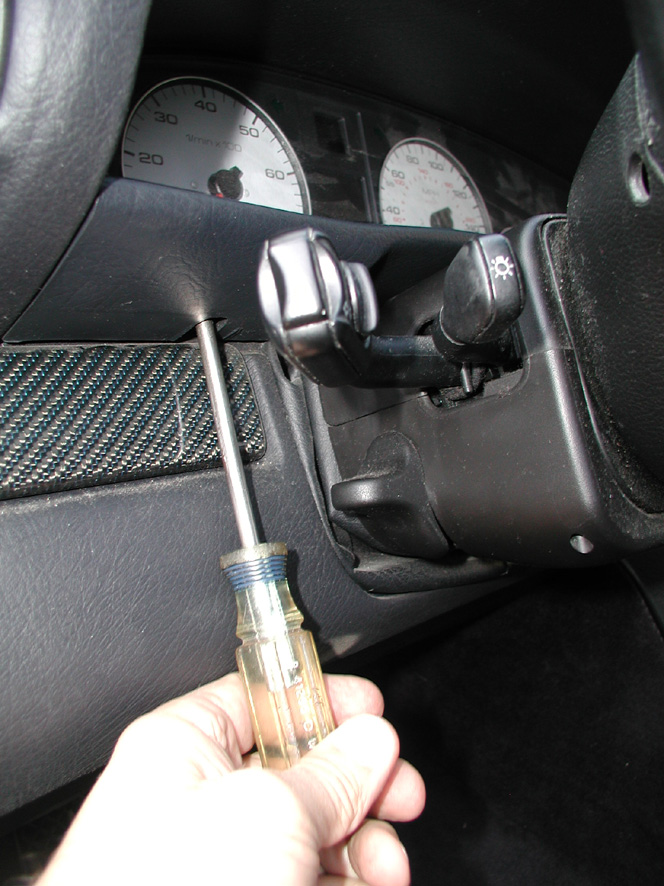
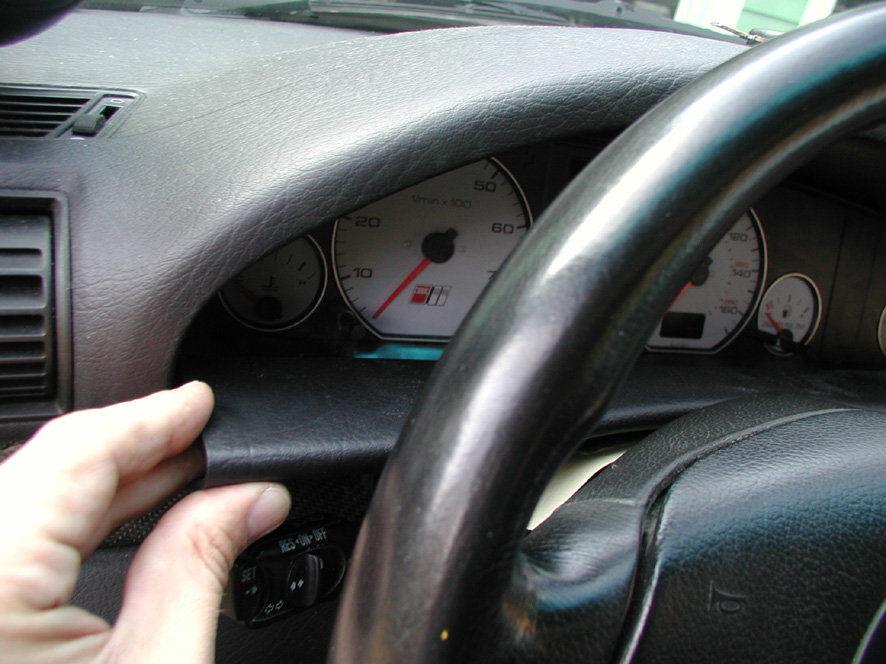
Remove the 2 screws as shown and then pull out the trim.
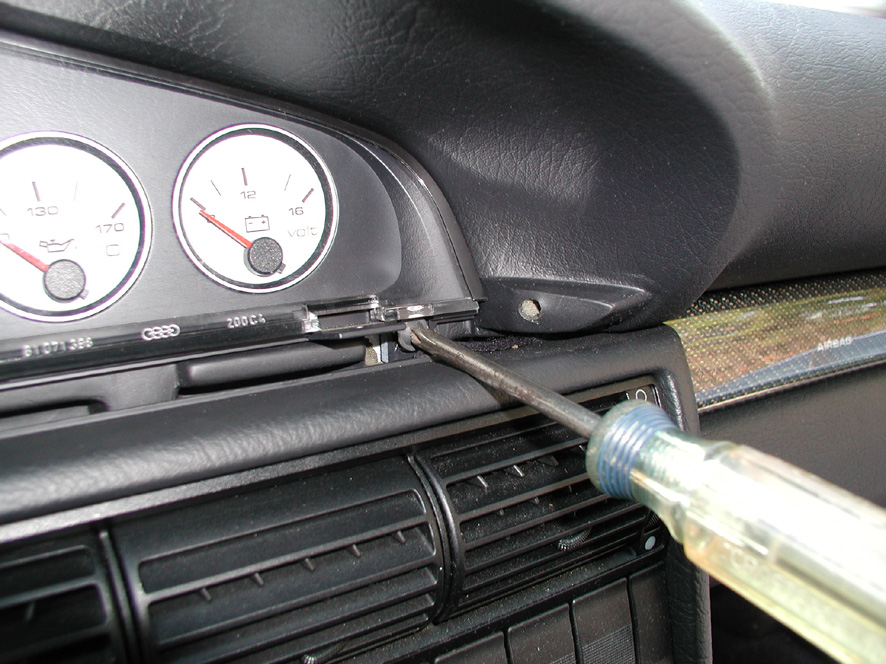
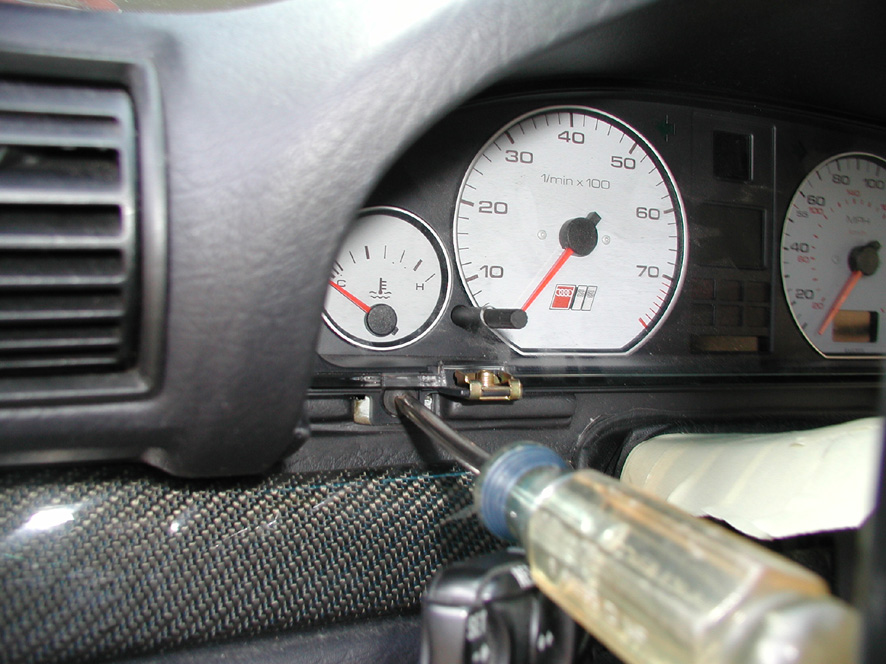
Remove the 3 screws holding the instrunment cluster. You can pull it out enough to disconnect all of the connectors on the back side.
Unfortunately I didn't take any photos of that.
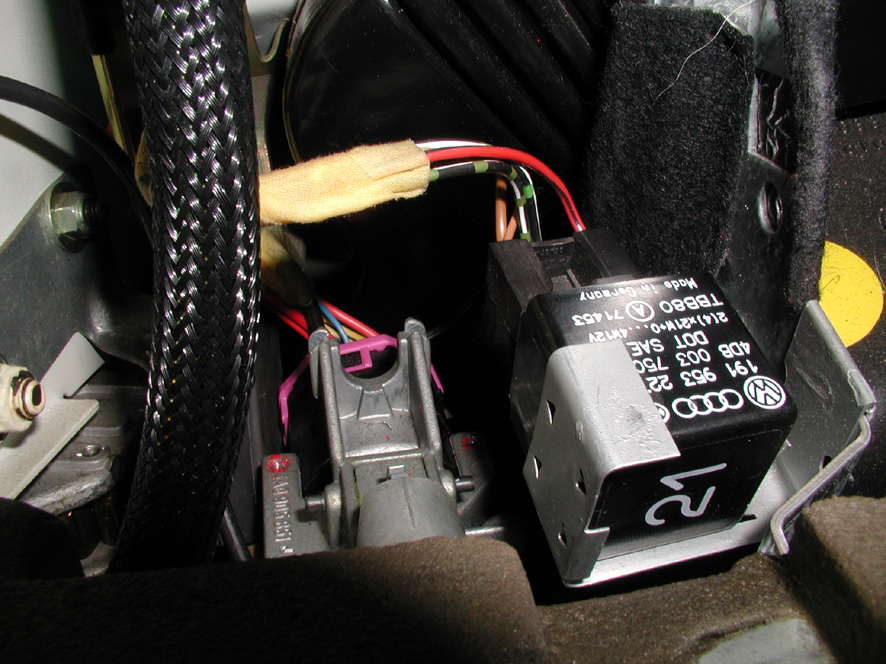
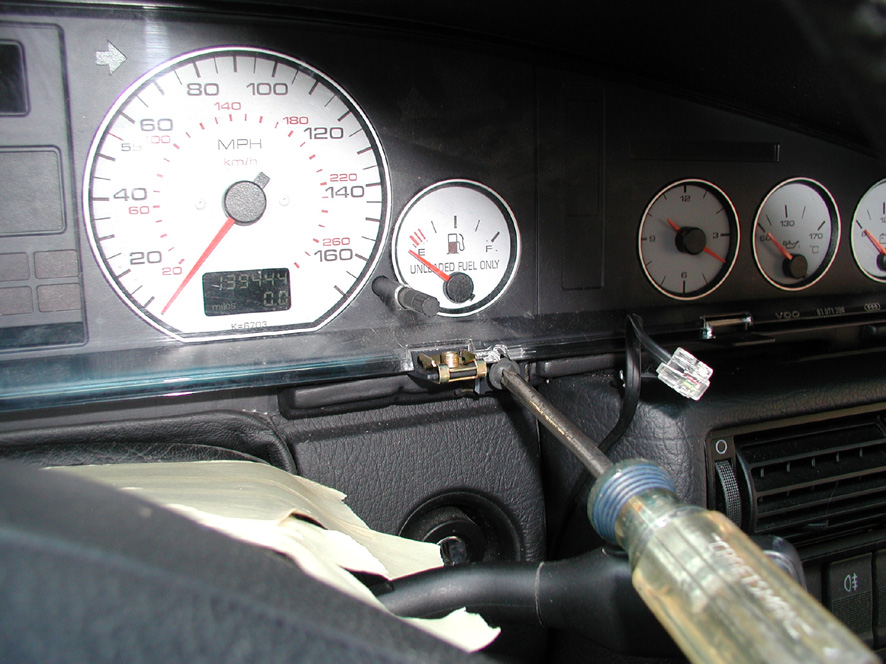
It makes it easier if you remove the flasher relay and bracket.
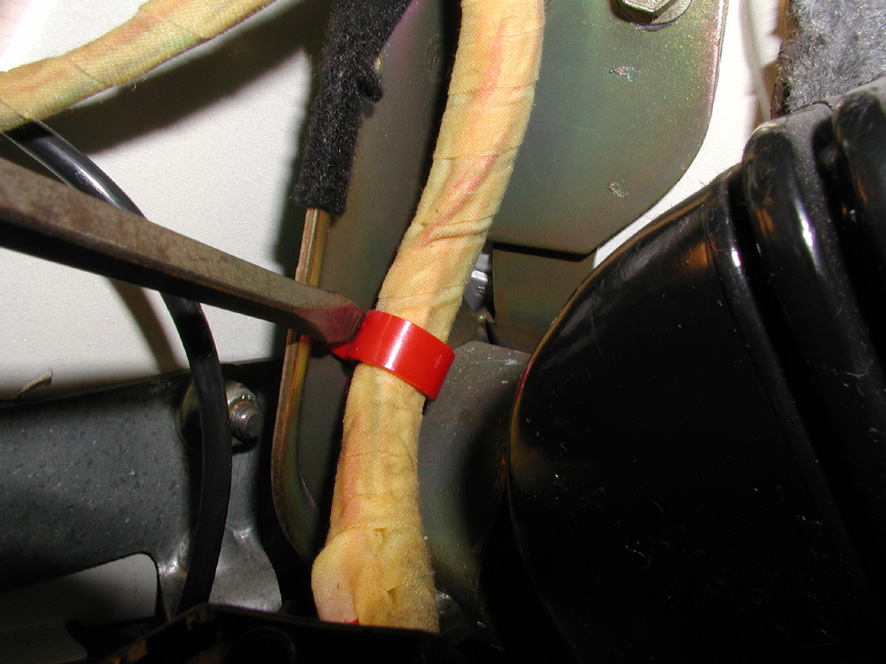
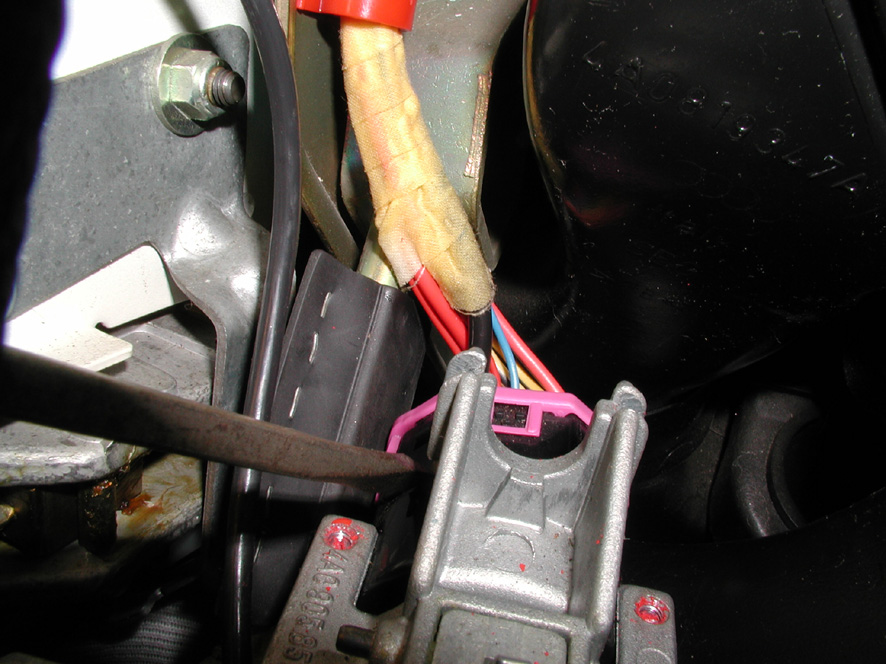
If you release the red wire hold down it makes it easier to remove the connector from the back of the switch.
If you notice the photo on the right, I did not and it would have been easier if I had.
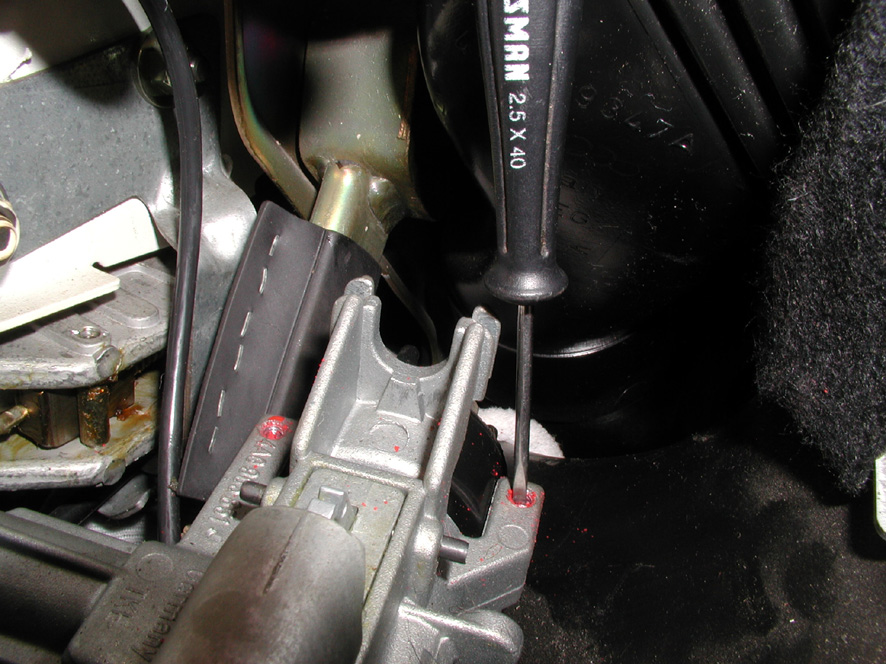
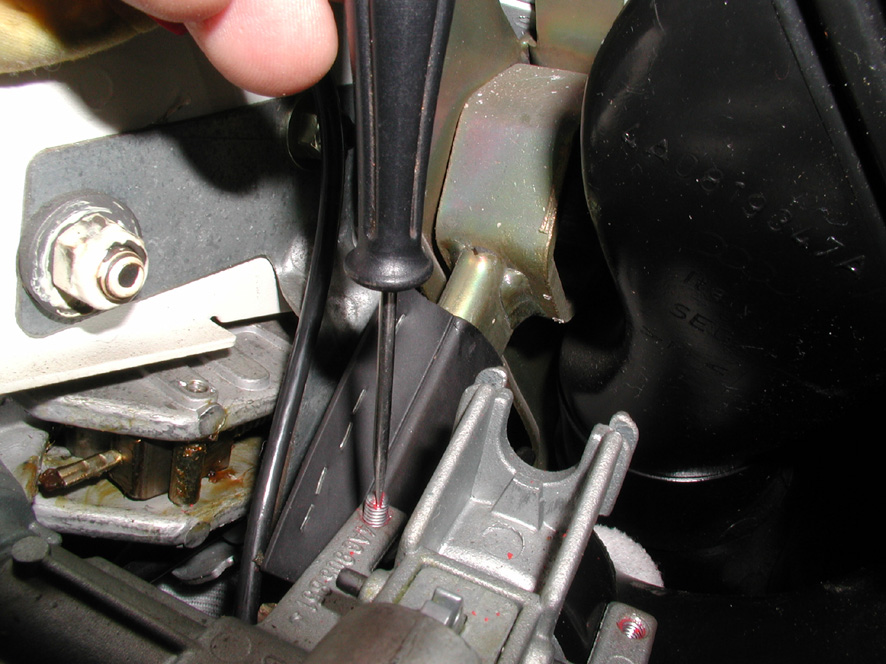
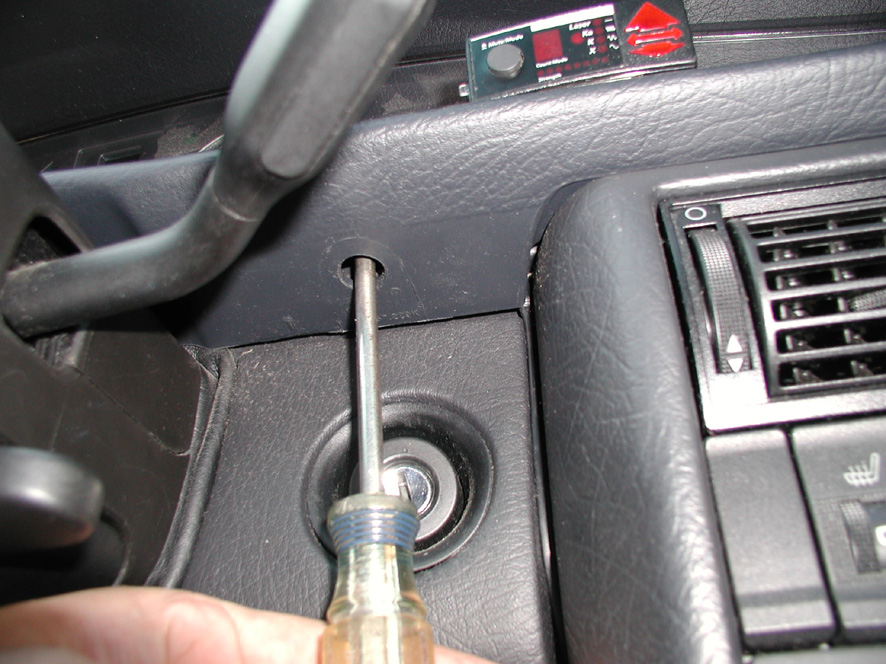
There are 2 set screws holding the switch in the column. Scrape out the red loctite and remove the screws.
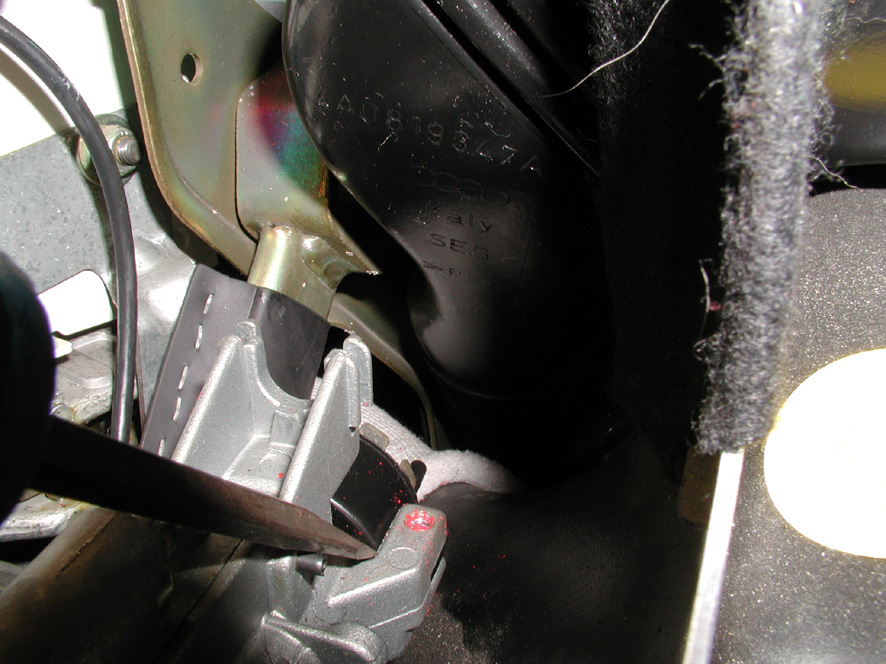
The switch will then slide out of the column with a little help from a screwdriver.
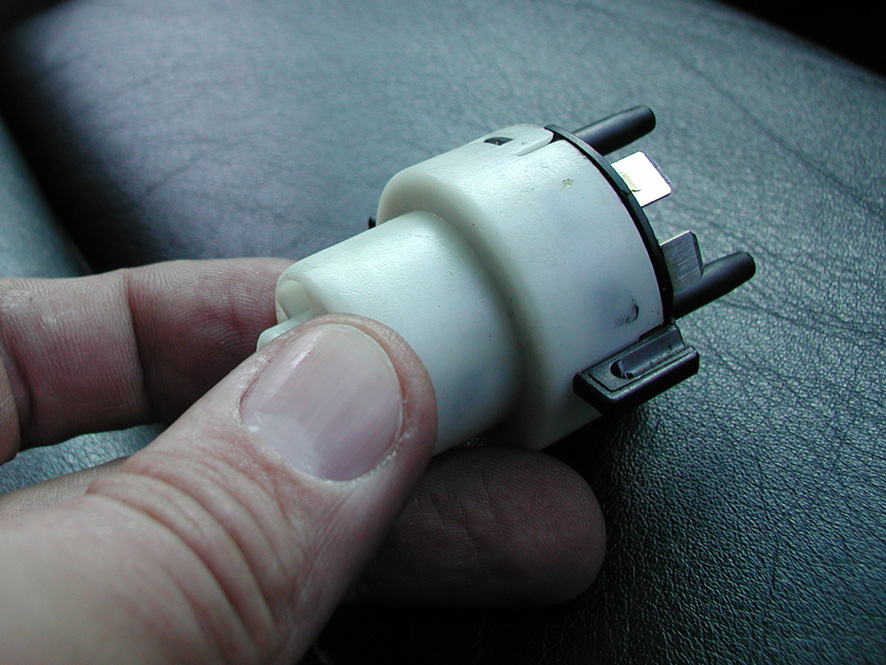
This is the orientation of the switch when installed.
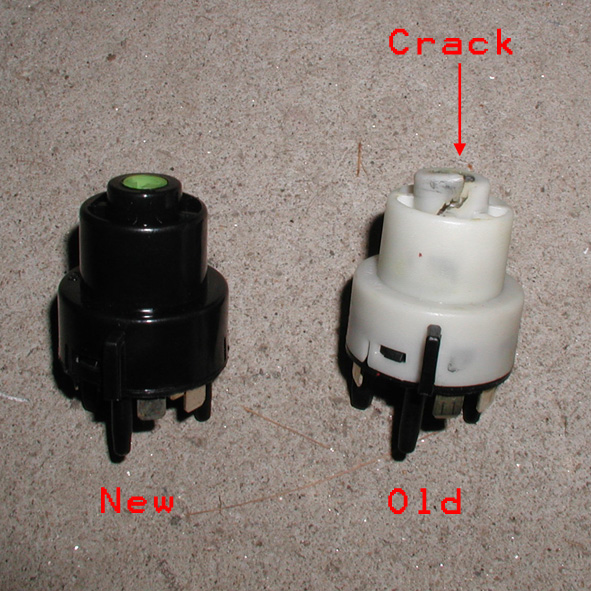
These are the new and old switches. Notice the crack in the old one.
Installation is the reverse.